The ABCs of Booking Beauty: A Step-by-Step Guide
Categories:
- Digital Innovations in Beauty
- Customer Service Excellence
- Online Booking Tips
Tags:
Online Booking Guide, Beauty Appointments, Digital Reservations, Salon Scheduling, User-Friendly Booking, Technology in Beauty, Effortless Scheduling, Step-by-Step Online Booking, Client Convenience, Salon Visit Planning
In today’s fast-paced world, convenience is key, especially when it comes to booking beauty appointments. The advent of online booking systems has transformed the way clients schedule their salon visits, offering a streamlined, hassle-free process. If you’re new to the world of digital reservations or simply looking for tips to enhance your booking experience, follow this ABC guide to effortlessly secure your next beauty appointment online.
A. Access the Salon’s Booking Platform
- Find the Salon: Start by navigating to your chosen salon’s official website or social media page. Most salons prominently display their booking options.
- Choose the Booking Platform: Salons may offer direct booking through their website, a third-party booking site, or a mobile app. Select the method that’s most convenient for you.
B. Begin Your Booking
- Create an Account: If it’s your first time booking with the salon, you may need to create an account. Provide necessary details like your name, email, and phone number for confirmation and reminders.
- Log In: For returning clients, simply log in to your existing account to expedite the booking process.
C. Choose Your Services
- Explore Services: Browse the list of available services. Salons often categorize their offerings (e.g., hair, nails, skincare) to help you find what you need quickly.
- Select a Service: Click on the service you wish to book. If you have preferences regarding the stylist or beautician, select them if the option is available.
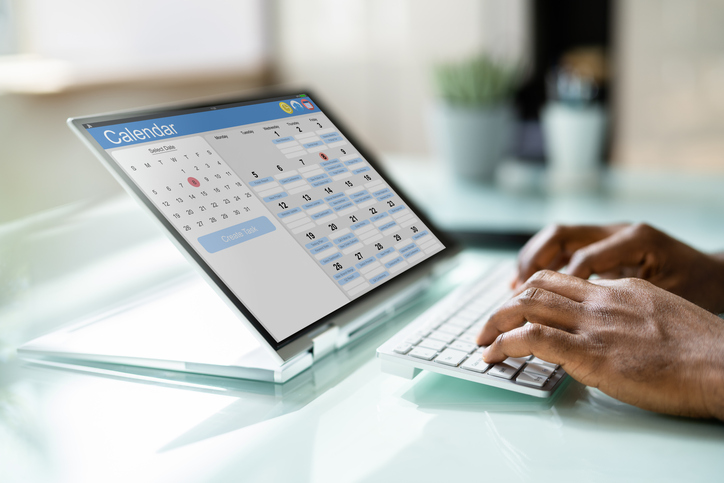
D. Determine Date and Time
- Check Availability: Once you’ve selected your services, view the calendar for available dates and times. Some platforms show the duration of each service, helping you plan accordingly.
- Pick Your Slot: Choose a date and time that best fits your schedule. Be mindful of the salon’s peak hours if you prefer a quieter visit.
E. Enter Your Details
- Special Requests: If the booking system allows, add any special requests or notes for the salon to consider during your appointment.
- Contact Information: Confirm your contact details for appointment confirmations and reminders.
F. Finalize Your Booking
- Review Your Appointment: Double-check the service, date, time, and any requests you’ve made. Ensure everything is correct before proceeding.
- Payment Information: Some salons require a deposit or full payment to secure your booking. Enter your payment details if necessary.
G. Get Confirmation
- Confirmation Message: After completing your booking, you should receive a confirmation message via email or text. This will include the appointment details and any preparation instructions.
- Reminders: Many salons send out reminder notifications closer to your appointment date. Keep an eye out for these to ensure you don’t miss your booking.
H. Handle Changes Gracefully
- Need to Reschedule? If something comes up and you need to change your appointment, log back into the booking platform. Most systems allow you to modify or cancel bookings up to a certain point before the appointment.
Conclusion Online booking has made scheduling beauty appointments easier and more accessible than ever. By following these simple steps, you can navigate the booking process like a pro, ensuring a smooth and enjoyable salon experience. Embrace the convenience of digital reservations and take the first step towards your next beauty transformation with ease.